Peterbilt 389 Headlight Bulb Replacement Guide
Peterbilt 389 Headlight Bulb replacement is a simple task that anybody can do, even on the road if needed. A large Phillips head screwdriver is the only tool needed. This article applies to changing the low beam bulb on all Peterbilt 389 trucks equipped with standard halogen headlights (not LED). For other Paccar specific guides, visit the Paccar category page.
Tools Needed:
- Large Phillips head screw driver – Can be used in a pinch but will need to be held at an angle and care will have to be taken to not scratch the fender
- Large Phillips head bit socket and ratchet
Parts needed:
As an Amazon Associate I earn from qualifying purchases.
Peterbilt 389 Headlight Bulb Replacement Procedure:
- Verify left side or right side headlight is out
- Turn off head lights
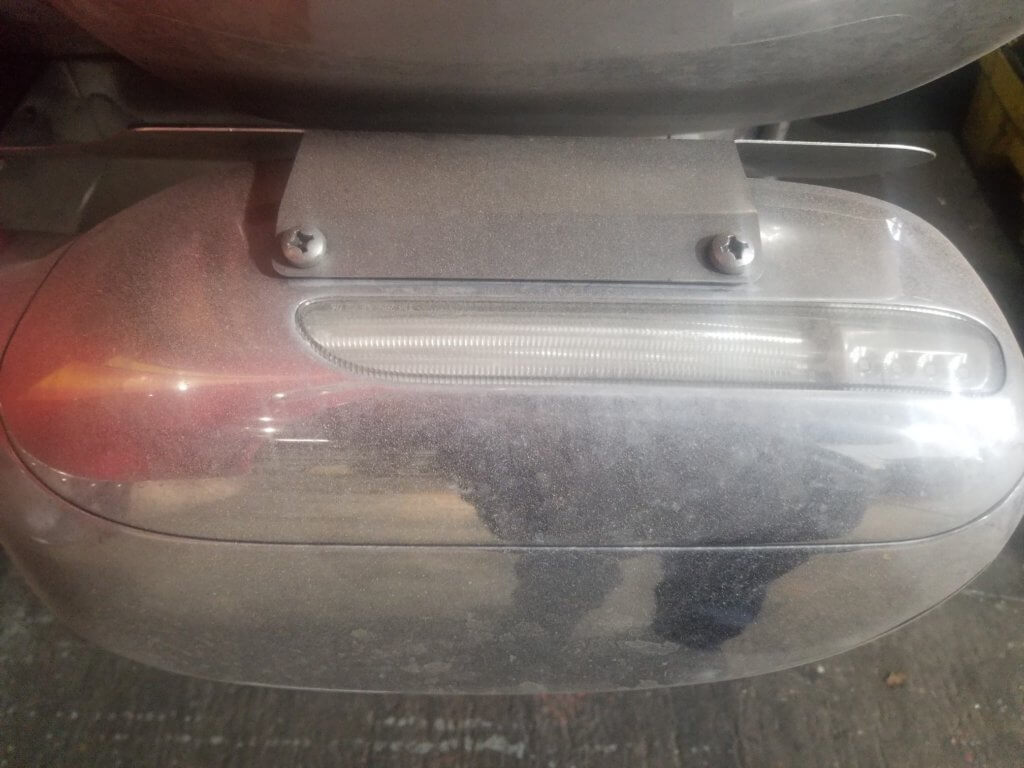
- Remove both Phillips head screws from headlight access panel found at the back of the head light housing. As stated above, a standard phillips head screw driver will work but it will need to be positioned at an angle to not hit the fender. A phillips bit socket and ratchet is easier to use and keep away from the fender.
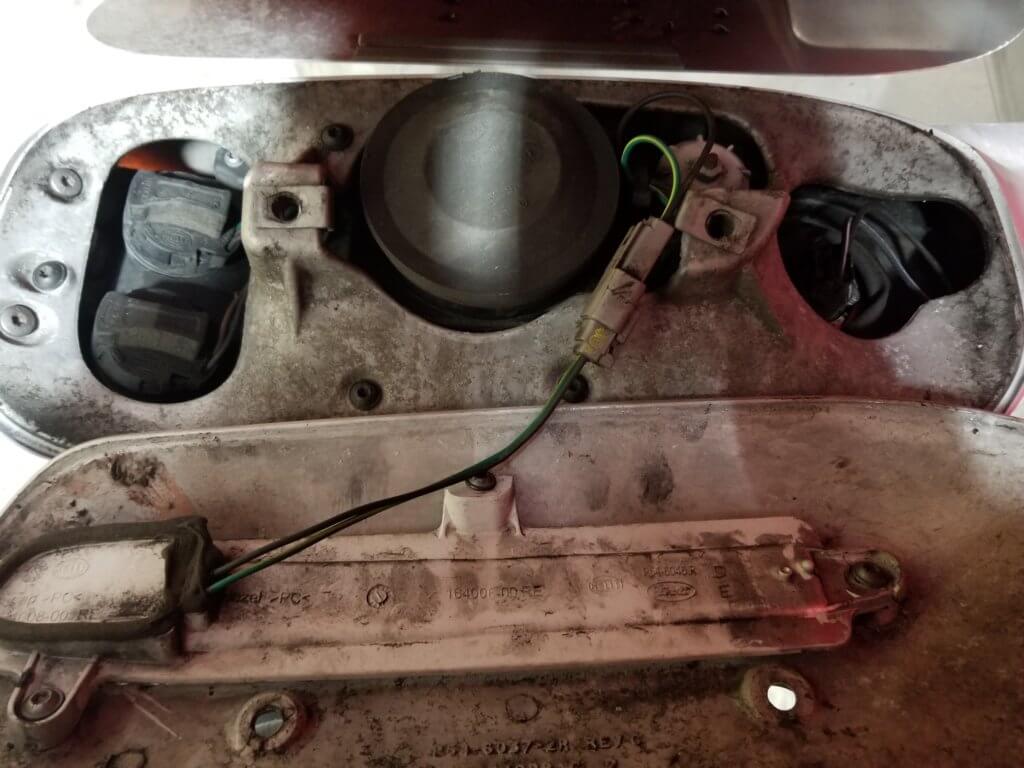
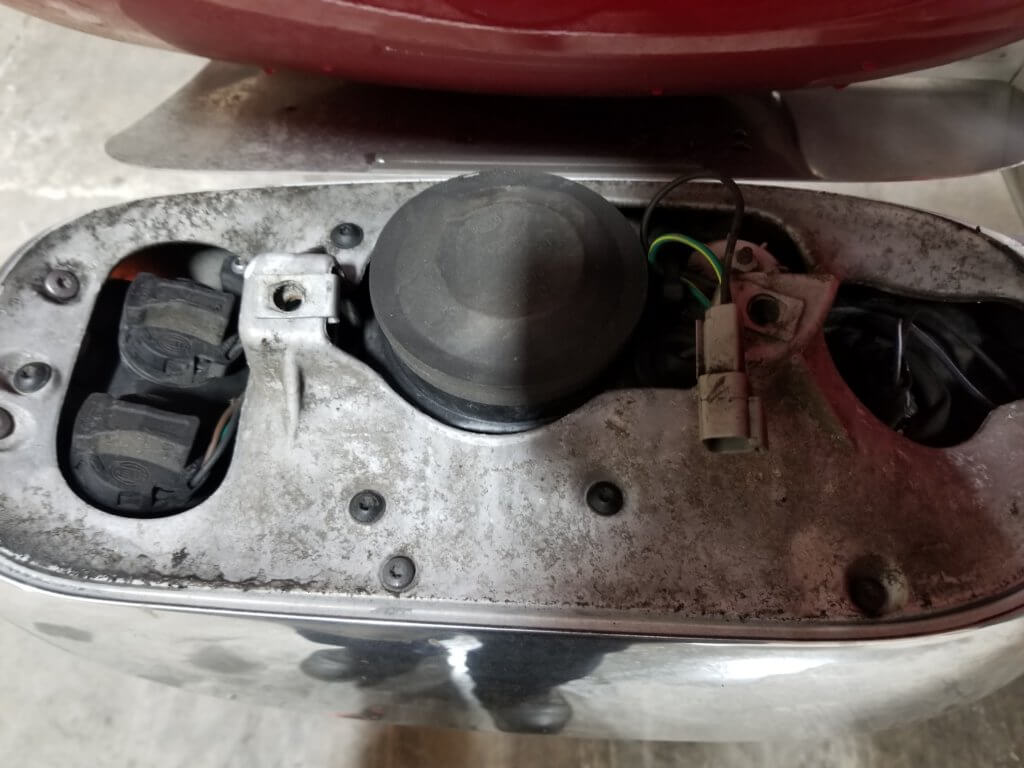
- Remove back cover and disconnect the 2 wire turn signal connector that connects the back cover to the wiring in the headlight housing
- Pry off the rubber boot behind the low beam bulb
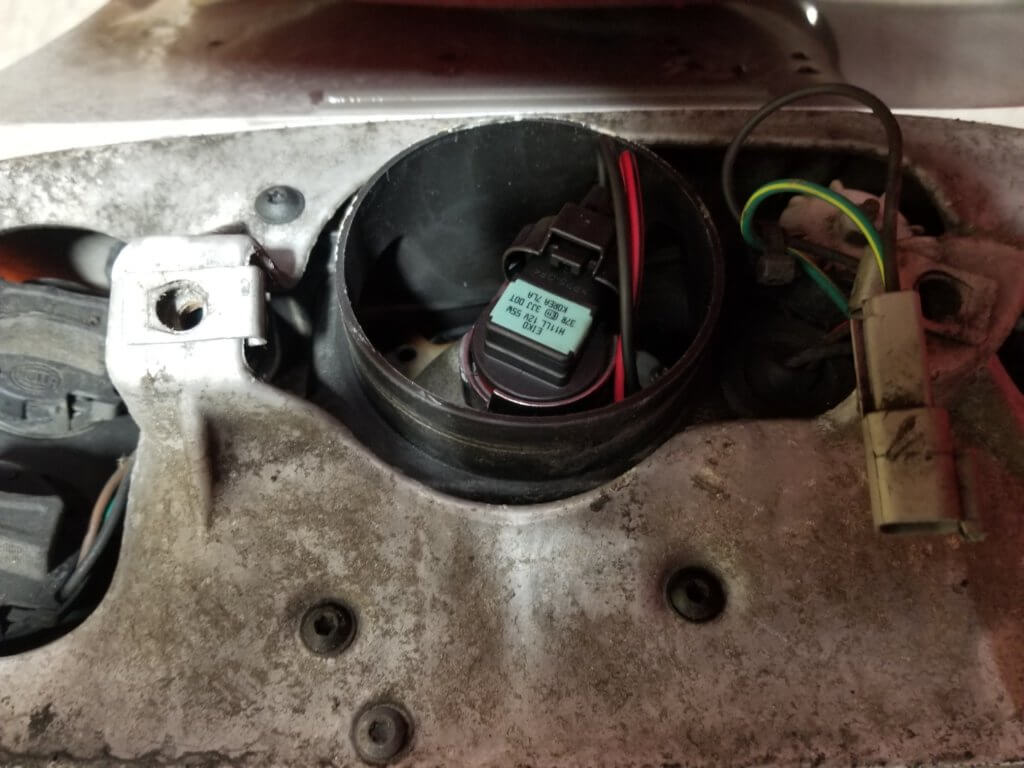
- Turn the bulb 1/4 turn counter clockwise and the bulb will be free to wiggle out of housing
- Make sure seal is still affixed to the bulb. If it is not, remove it from housing
- Unclip connector from bulb by lifting up on tab
- Install new headlight bulb to wire connector
- Place bulb into headlight housing, line up tabs so it sits fully in housing
- Turn 1/4 turn clockwise to lock it in place
- Reinstall rubber boot behind headlight bulb
- Turn on headlights and check for any issues (if you see light from the back, it is not fully seated)
- Reconnect turn signal wiring from rear cover to headlight housing wire harness
- Reinstall the back headlight cover with the 2 Phillips head screws


